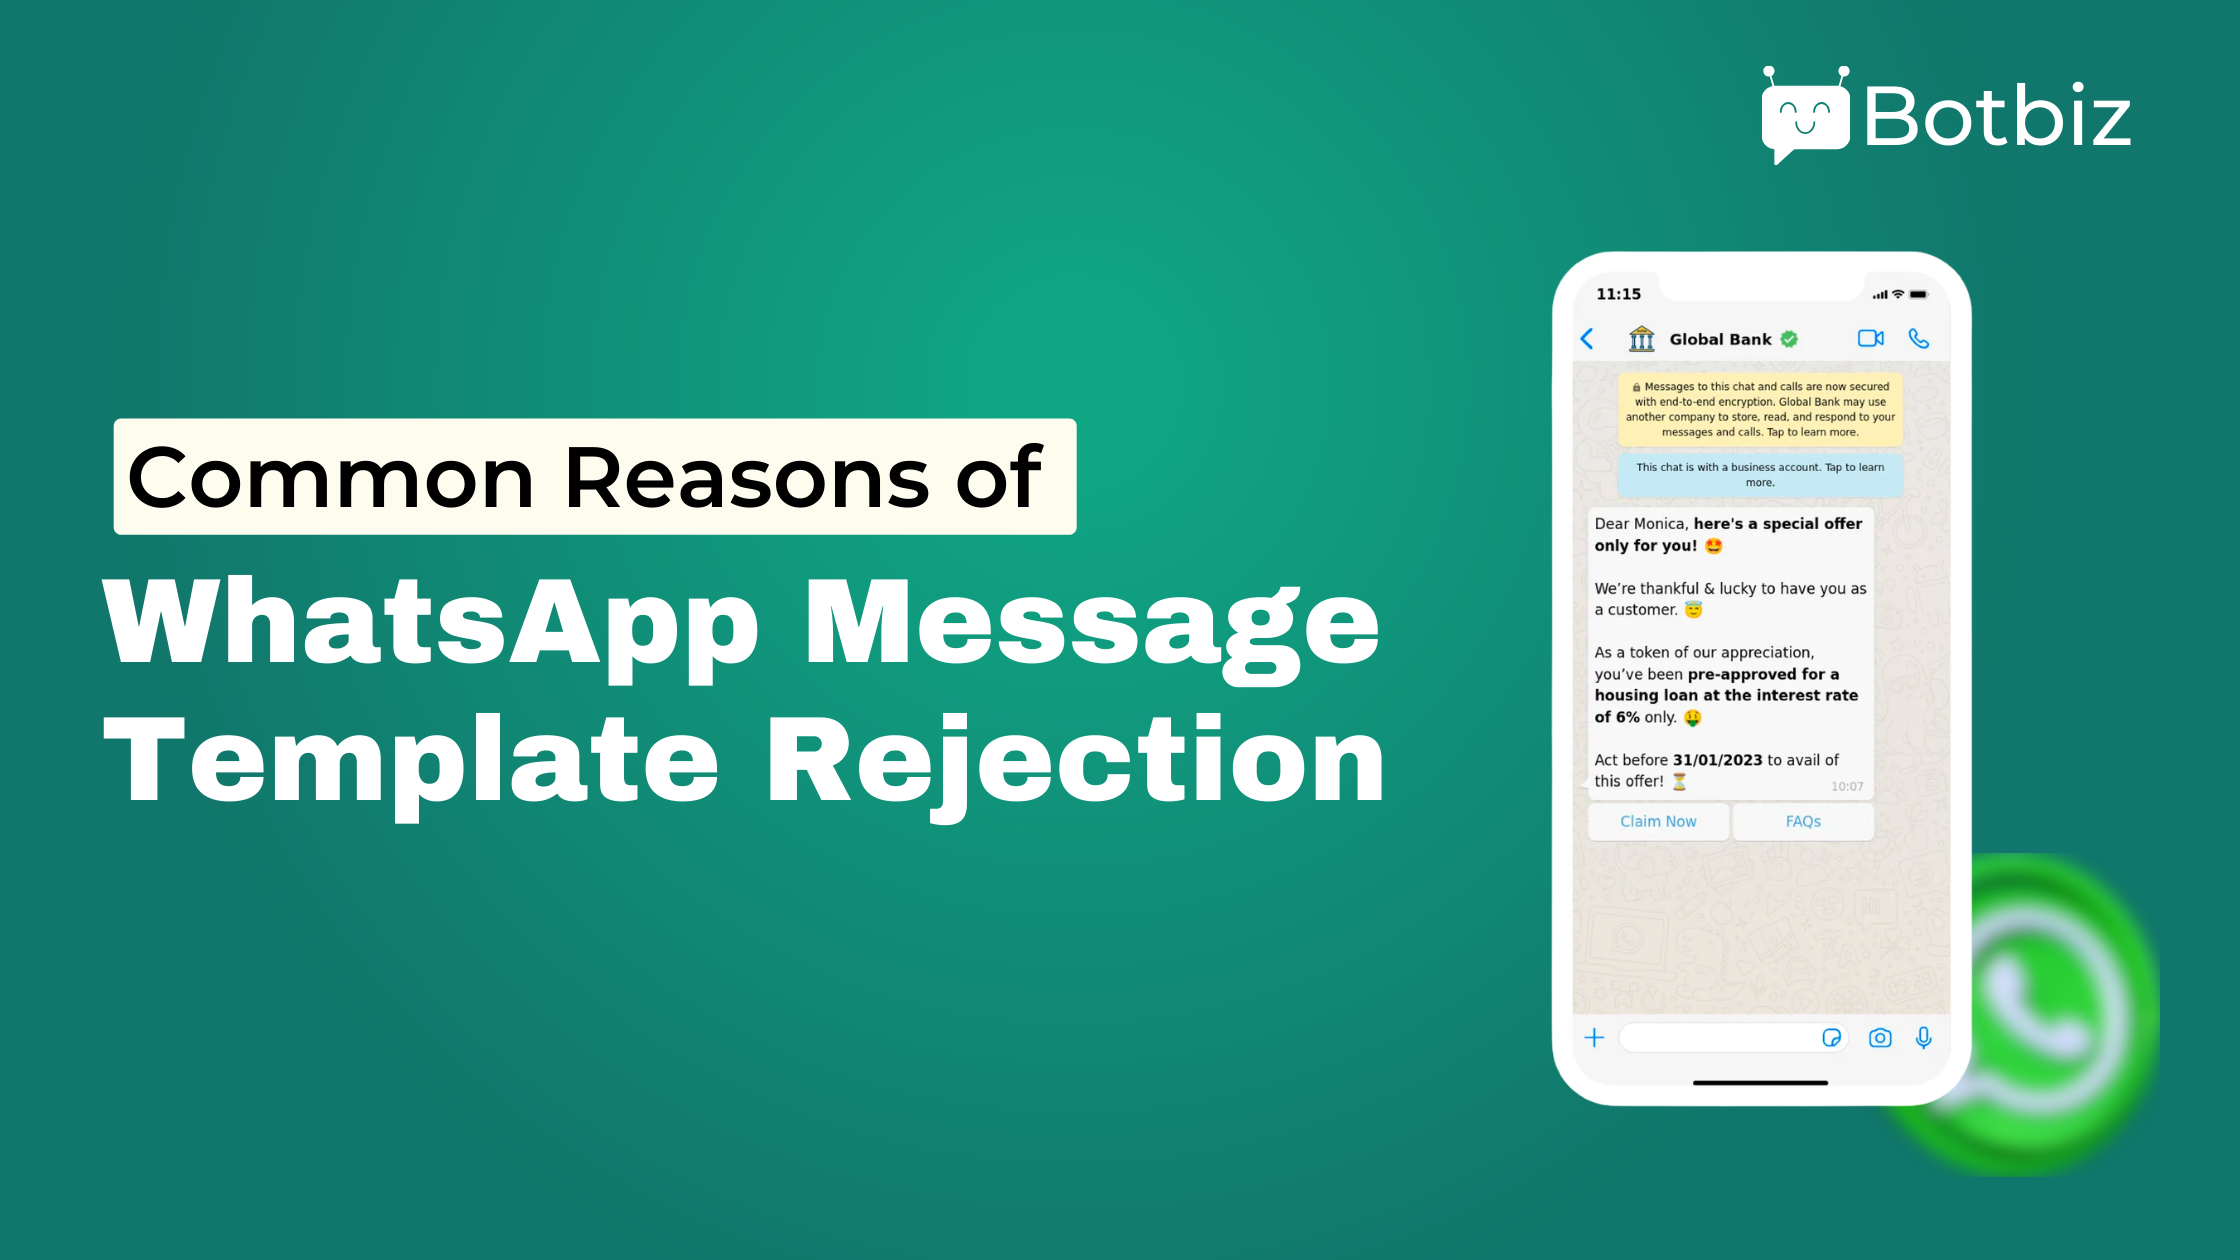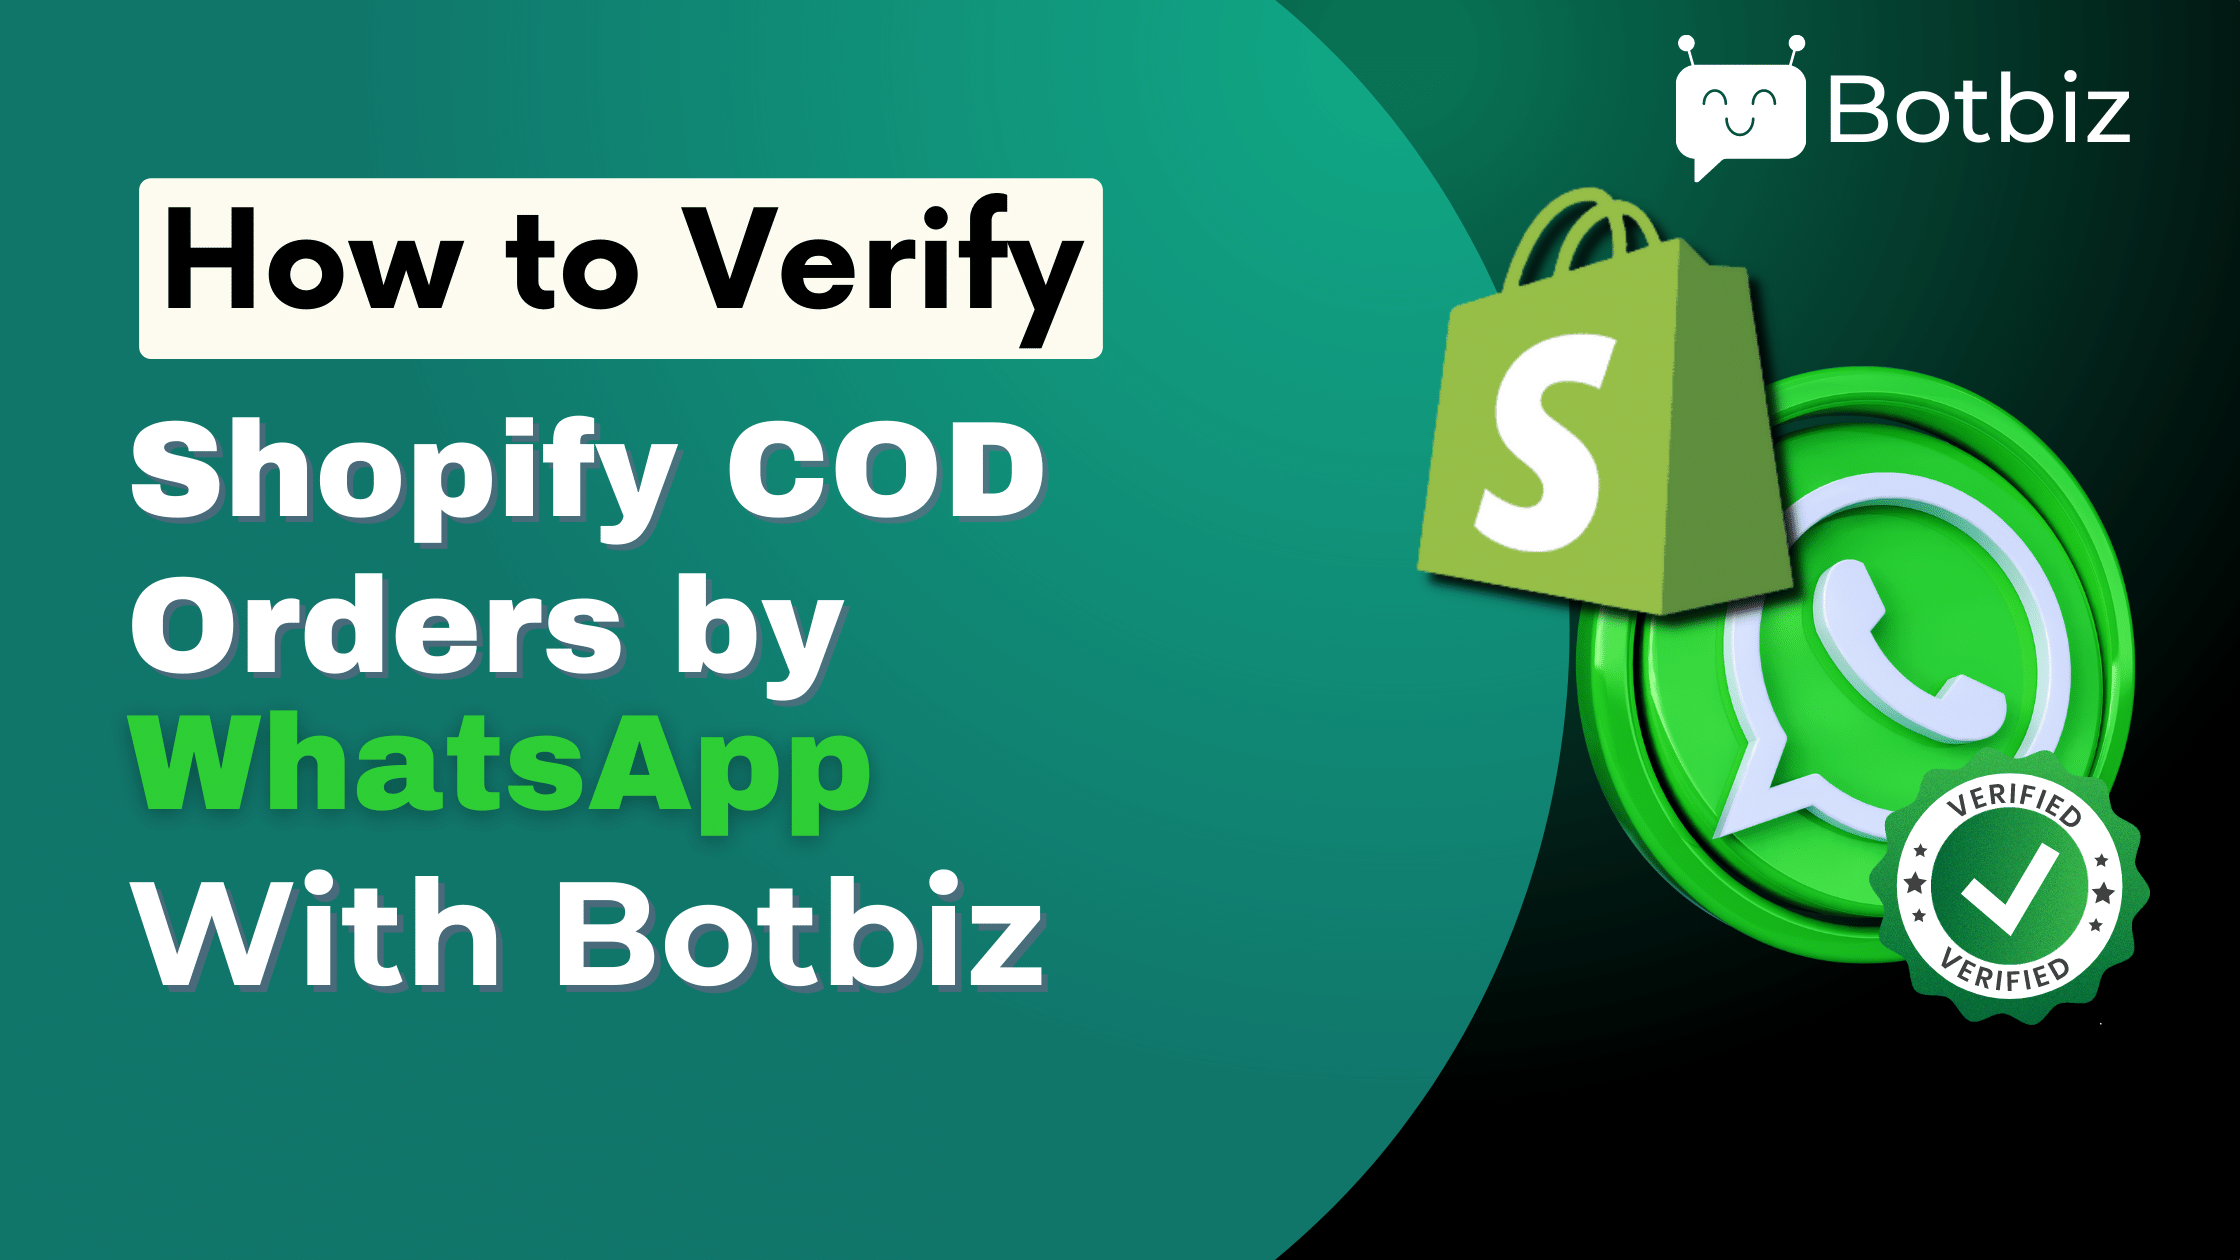
Are you looking for a way to ensure the authenticity of cash on delivery orders on your Shopify store? Botbiz has the perfect solution for you. In this article, we will show you how to easily verify Shopify cash on delivery orders using WhatsApp.
With Botbiz’s powerful integration, you can confirm cash on delivery orders by sending a WhatsApp message to the customer. The customer will then receive a message asking them to confirm their order with a simple “yes” or “no” reply. This simple and efficient process not only protects your store from fraudulent orders but also improves the customer experience by allowing them to confirm their order in a convenient and quick manner.
Say goodbye to the hassle of manually verifying cash on delivery orders and hello to streamlined and secure process with Botbiz’s WhatsApp integration.
First, you have to create a message template in Botbiz.
To create a message template, click on the bot manager menu under the WhatsApp section at the left sidebar of the dashboard.

Instantly, the WhatsApp Botmanager page will appear with some options.
Now click on the message template option.

Instantly, the message template settings page will appear.
Before creating a message template, create some variables.
To create variables, scroll down to the bottom of the page. At the bottom of the page, you will see the Template variable section with a create button.

To create a variable, click on the Create button. Instantly, a modal form will appear with a Variable name field and save button.

In this way, create two variables– listItem and totalPrice.
Now you have to create a message template.
To create a message template, click on the create button at the top of the page.
Instantly, a modal form called a message template will appear with some fields.
You have to fill out the fields to create a message template.
Provide a name in the template name field. Then you have to write a message in the message body field.
In the message body, insert the two variables — productList and totalPrice – you have created.

After writing a message to the message body, you have to create two Quick Reply buttons. To create the Quick reply button, click on the Quick reply button.
Instantly, three button text field will appear. To create two Quick Reply button, Provide button text in the two-button text field.
As button text, provide Confirm Order and Cancel Order in the two button text field.

Now click on the Save button.
Now you have to check the status of the template. To check the status, click on the Check Status button.
Yes, the status of the message template is approved.

You have created two quick reply buttons. Therefore, you have to create two postbacks.
To create a postback, click on the postback option.

Instantly, postback settings will appear with a create button.

Now click on the create button.
Instantly, the Flow Builder Editor will appear with the Start Bot flow component.

Double-click on the component and a sidebar called configure reference will appear with some fields – Title, Choose Labels, and Choose sequence.
Provide a title for the postback in the title field. Then you can choose labels in the Choose Label field and sequence in the Choose sequence field. Well, choosing a label and sequence is optional, not required.
Then click on the ok button.

Instantly, the Start flow button will be configured.

Now you have to add the Text element to the Start flow element.

Then write a message in the Text component. Now click on the save button.

That’s all. The postback has been created.
In this way, create another postback for canceling the order.

Now you need to create a webhook workflow.
To create a webhook workflow, click on the Webhook workflow menu in the WhatsApp section at the left sidebar of the Dashboard.

Instantly, WhatsApp Webhook(In-bound) Workflow will appear with a create button.

Click on the create button.
Instantly, the workflow details section with some fields will appear.
Provide a name in the Webhook Workflow button. Then, in the message template field, select the message template you have created.
Then click on the create workflow button.
 Instantly, the webhook callback URL will appear. Now you have to copy the URL.
 Now go to your Shopify Orders page.

Click on Settings. Instantly, the settings of Shopify will appear.
Now click on Notifications menu.

Instantly, the notification page will appear.
Scroll down to the bottom of the page. At the bottom of the page, you will see a section called webhooks with a Create Webhook button.
Now click on the Create Webhook button.

Instantly, a modal form called add webhook will appear with some fields – Event, Format, Url, and Webhook API version.
In the Event field, select order creation. In the Url field, put the Webhook callback Url you copied from the Botbiz.
Then click on the Save button.

Instantly, a successful message will appear. That is, the webhook is saved successfully.

Then return to Botbiz and click on the Capture Webhook response button.

Now you have to send an order.
You can send an order from Shopify for testing purposes. To send an order, go to Shopify and click on the orders menu. Instantly, the orders page will appear with a Create Order button.

Now click on the Create Order button. Instantly, a create order page will appear with the Products field.
 From the Product fields, select a product.

Then create a customer or select a customer from a predefined customers list.

Then enable the payment due later option. Then click on the Create Order button.

Instantly, a modal form called Create order will appear with the Expected Payment method field. In the field, select the Cash on delivery option and click on the Create order button.

The order will be created.
Now return to BotBiz and wait for a moment.
In a moment, you will get a webhook response.
Now you have to complete webhook response mapping.

In the phone number field, select billing address phone number.

In the product list variable field, you have to select line_items. In the product list variable field, you have to select line_items.

Then you have to create a data formatter for line_items.
To create a data formatter, click on the new button in the data formatter section.
Instantly, a data formatter form will appear.
Provide a name in the name field. Then in the Action field, select Contact List Items. In the Glue field, provide a comma and in the position field, provide name.
Then click on the Save Formatter button.

Now you have to select the formatter for the product list.

Now you have to select total_price in the TOTAL PRICE field.

Now you have to fill out Confirm order and Cancel order field.
In the confirm order field, select Shopify Confirm Order postback.
Likewise, in the cancel order field, select Shopify Cancel Order Postback.

Now you need to create a callback API. When a user clicks on Confirm Order or Cancel Order button, What will be happened will define in the callback API.
Now you have to create callback API.
To create a callback API, click on the Create button in the New button under the Callback API section.

Instantly, a modal form called Callback API will appear with some fields – Name, API Action, Select Store API and Tag.
Provide a name in the Name field. And in the API action field, select Shopify order tag update option.
In the Select Store Api field, you have to select an integrated Shopify store. In this article, I am selecting a predefined Store API.
In the Tag field, write a tag.
Then click on the Save Callback API.

Instantly, a successful message will appear. That is, the Callback API has been created.

Now you can use the Callback API. You have to use the Callback API for Confirm order.

Likewise, you have to create another callback API for cancel order button.

Now use the Callback API for the Cancel Order button.

Now you have to set rules for conditions.
Select send message only if one of the following rules satisfies option.
Then you have to fill out the Select data field,
In the Select data field, select the payment gateway name option.
In the select operator field, select Equat to operator.
In the put value field, write cash on delivery(cod).

Now click on the Save workflow button.

Instantly, a successful message will appear.

Now you can check how it works.
To check how it works, go to Shopify and create order.
After created an order, go to WhatsApp Webhook Workflow Report to check the status of the workflow.

The status is pending.
You have to wait for a moment to get the message.
After a moment, go to your WhatsApp account.
You will see a message with two button – Confirm Order and Cancel Order.

If you click on the confirm order button,
Instantly, the confirmation message will appear.

Now go to Shopify odres page to check the order.
You will see that the order is confirmed by WhatsApp.
This is how you can verify Shopify cash on delivery orders by WhatsApp with Botbiz.